


Here’s a tutorial about how to sew a baby graduation cap and gown!
The Finished Product:
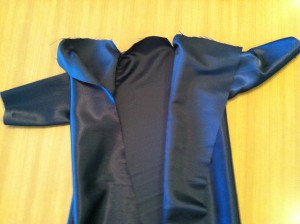
As you can see, the cap and gown turned out darling, and the little graduate looked very cute.
We simply overlapped the flaps in front, but a safety pin would have held it down better.

All right, here you go!
How to sew a baby cap and Gown:
(My mom gets all the credit for this. I wanted to do this but I’m cheap – I was originally going to attempt to do a make-shift cap and gown out of an old blue onesie and T-shirt. She thought we could do better than that, however, and took it upon herself to make the magic happen). It turned out super adorable! Here are the detailed instructions she gave me:
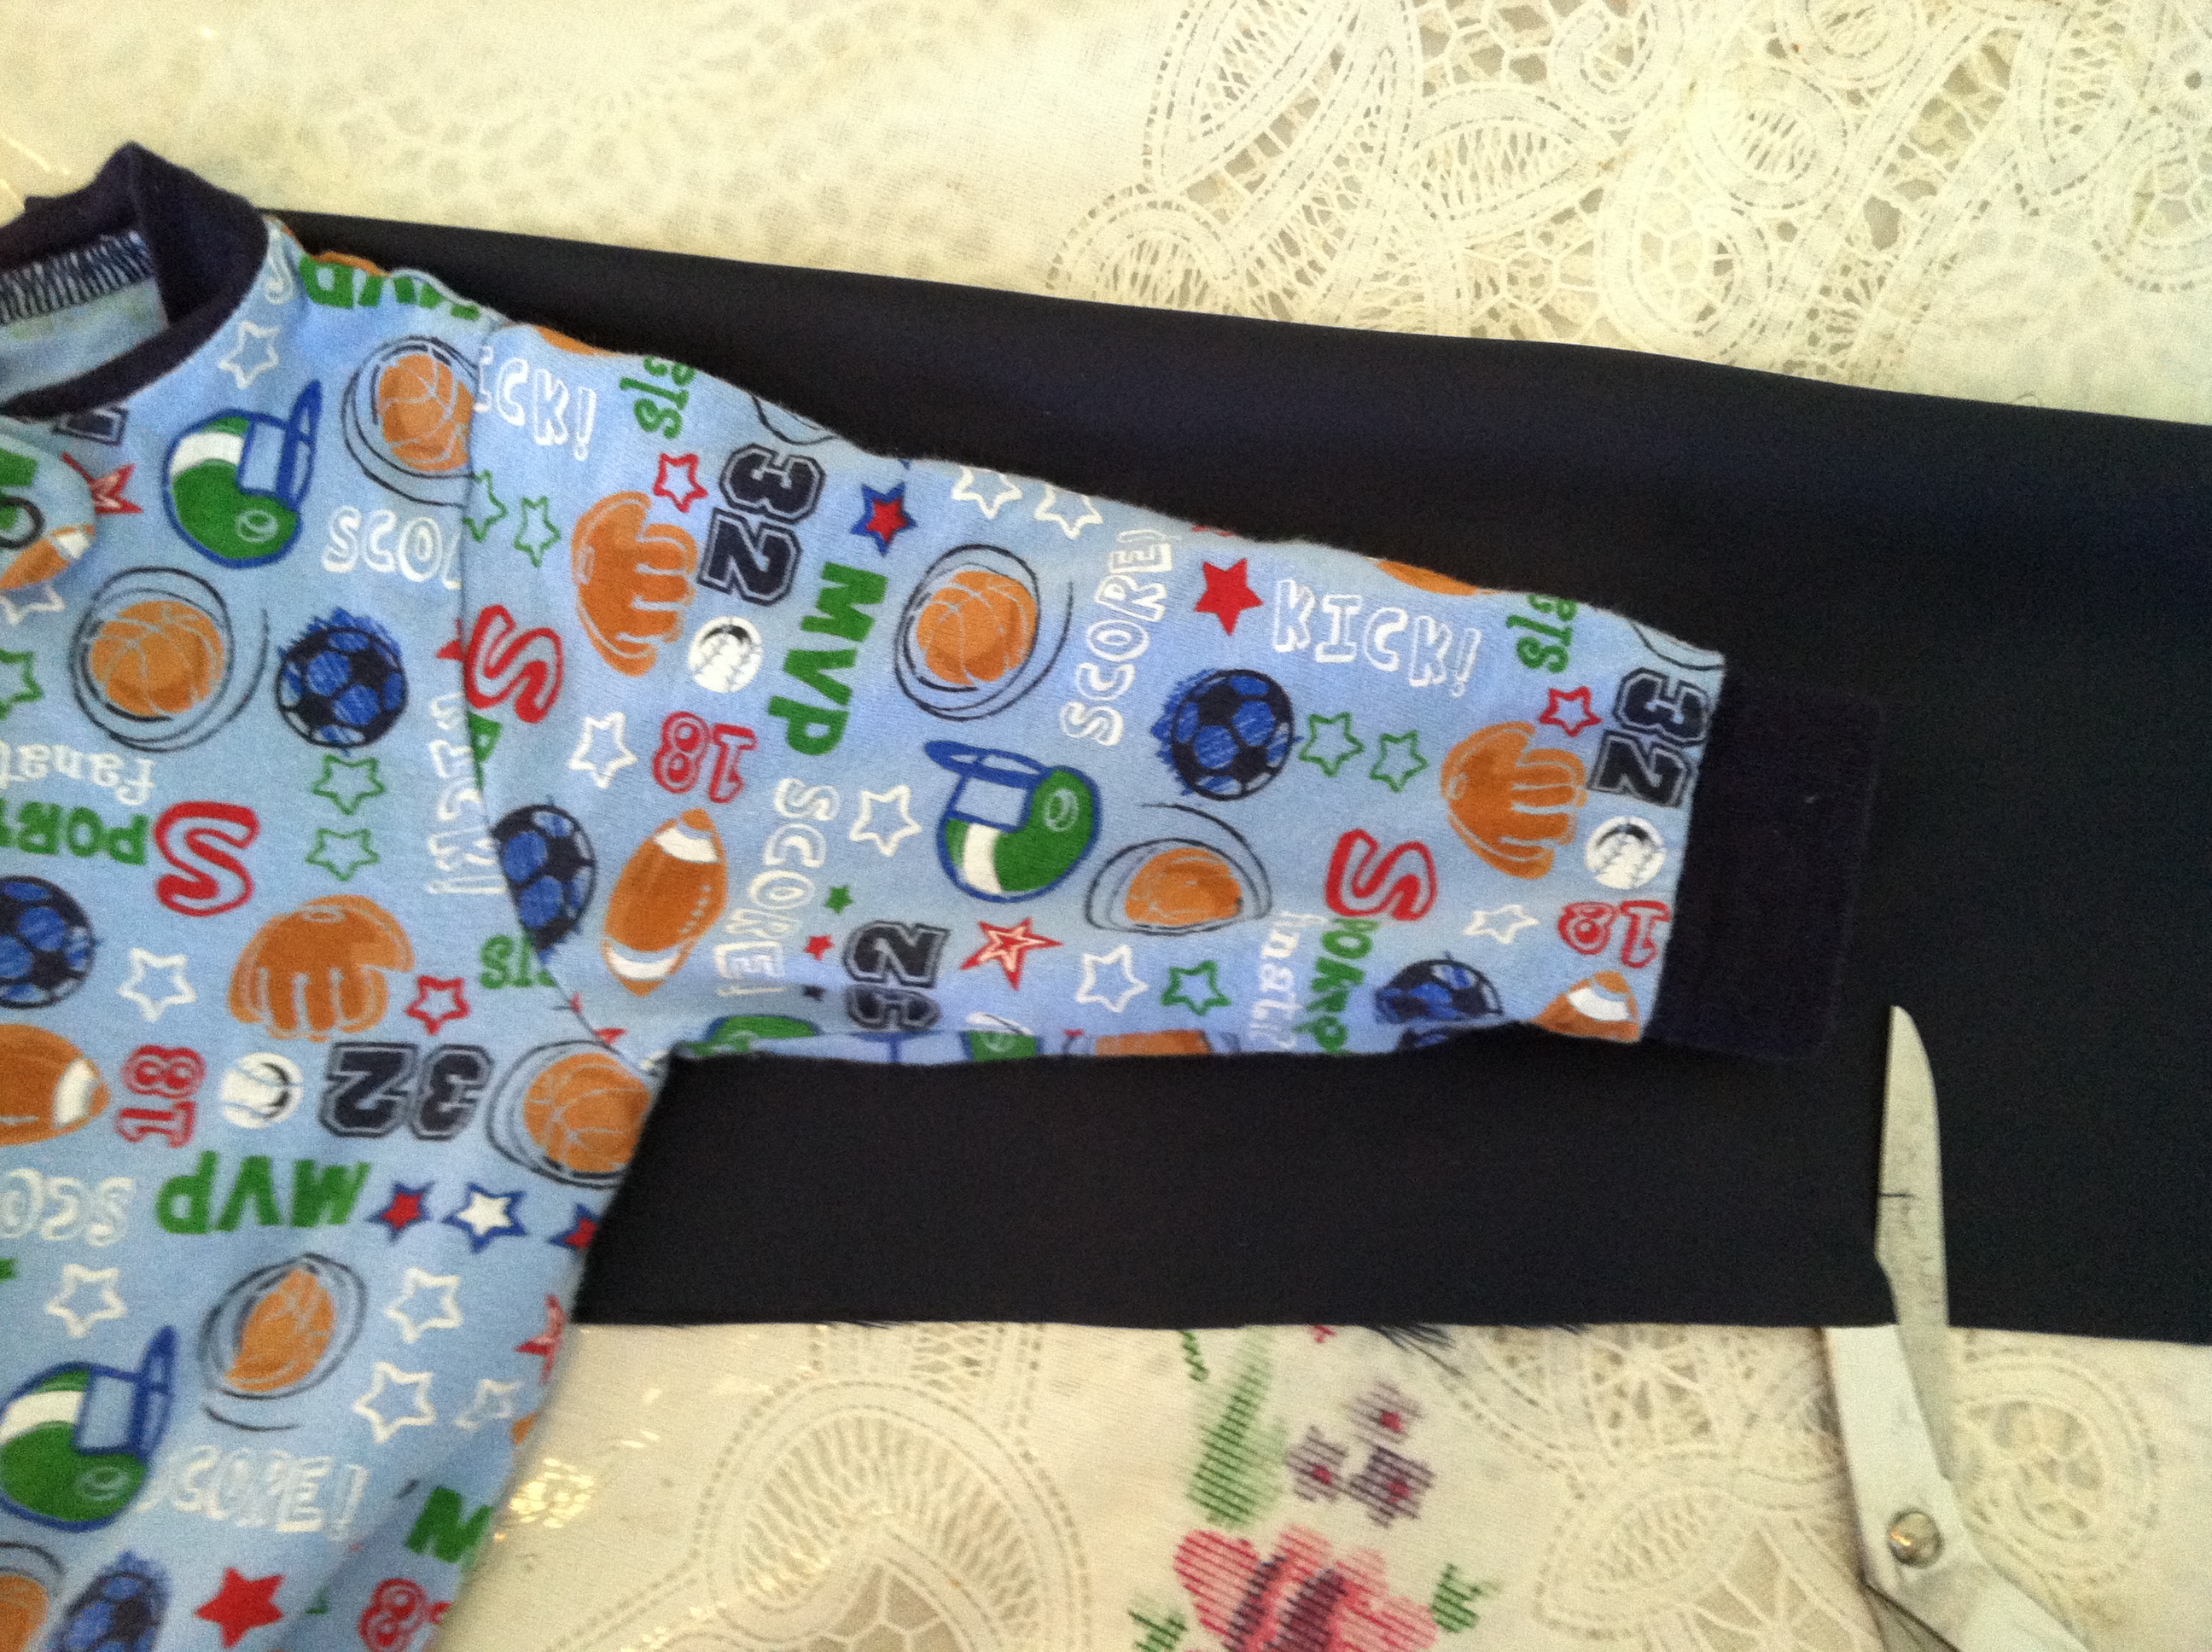
I bought 2 yards of dark blue washable satin fabric, although basic broadcloth would have worked as well, but wouldn’t have the shine. I didn’t use it all (I might have had a quarter or half yard left). I just wanted to make sure I had enough, since I didn’t have a pattern and needed to allow for mistakes. A pattern would have made it a lot easier, but it worked out.
I also bought very thin elastic for the cap.
HOW TO MAKE THE GOWN:

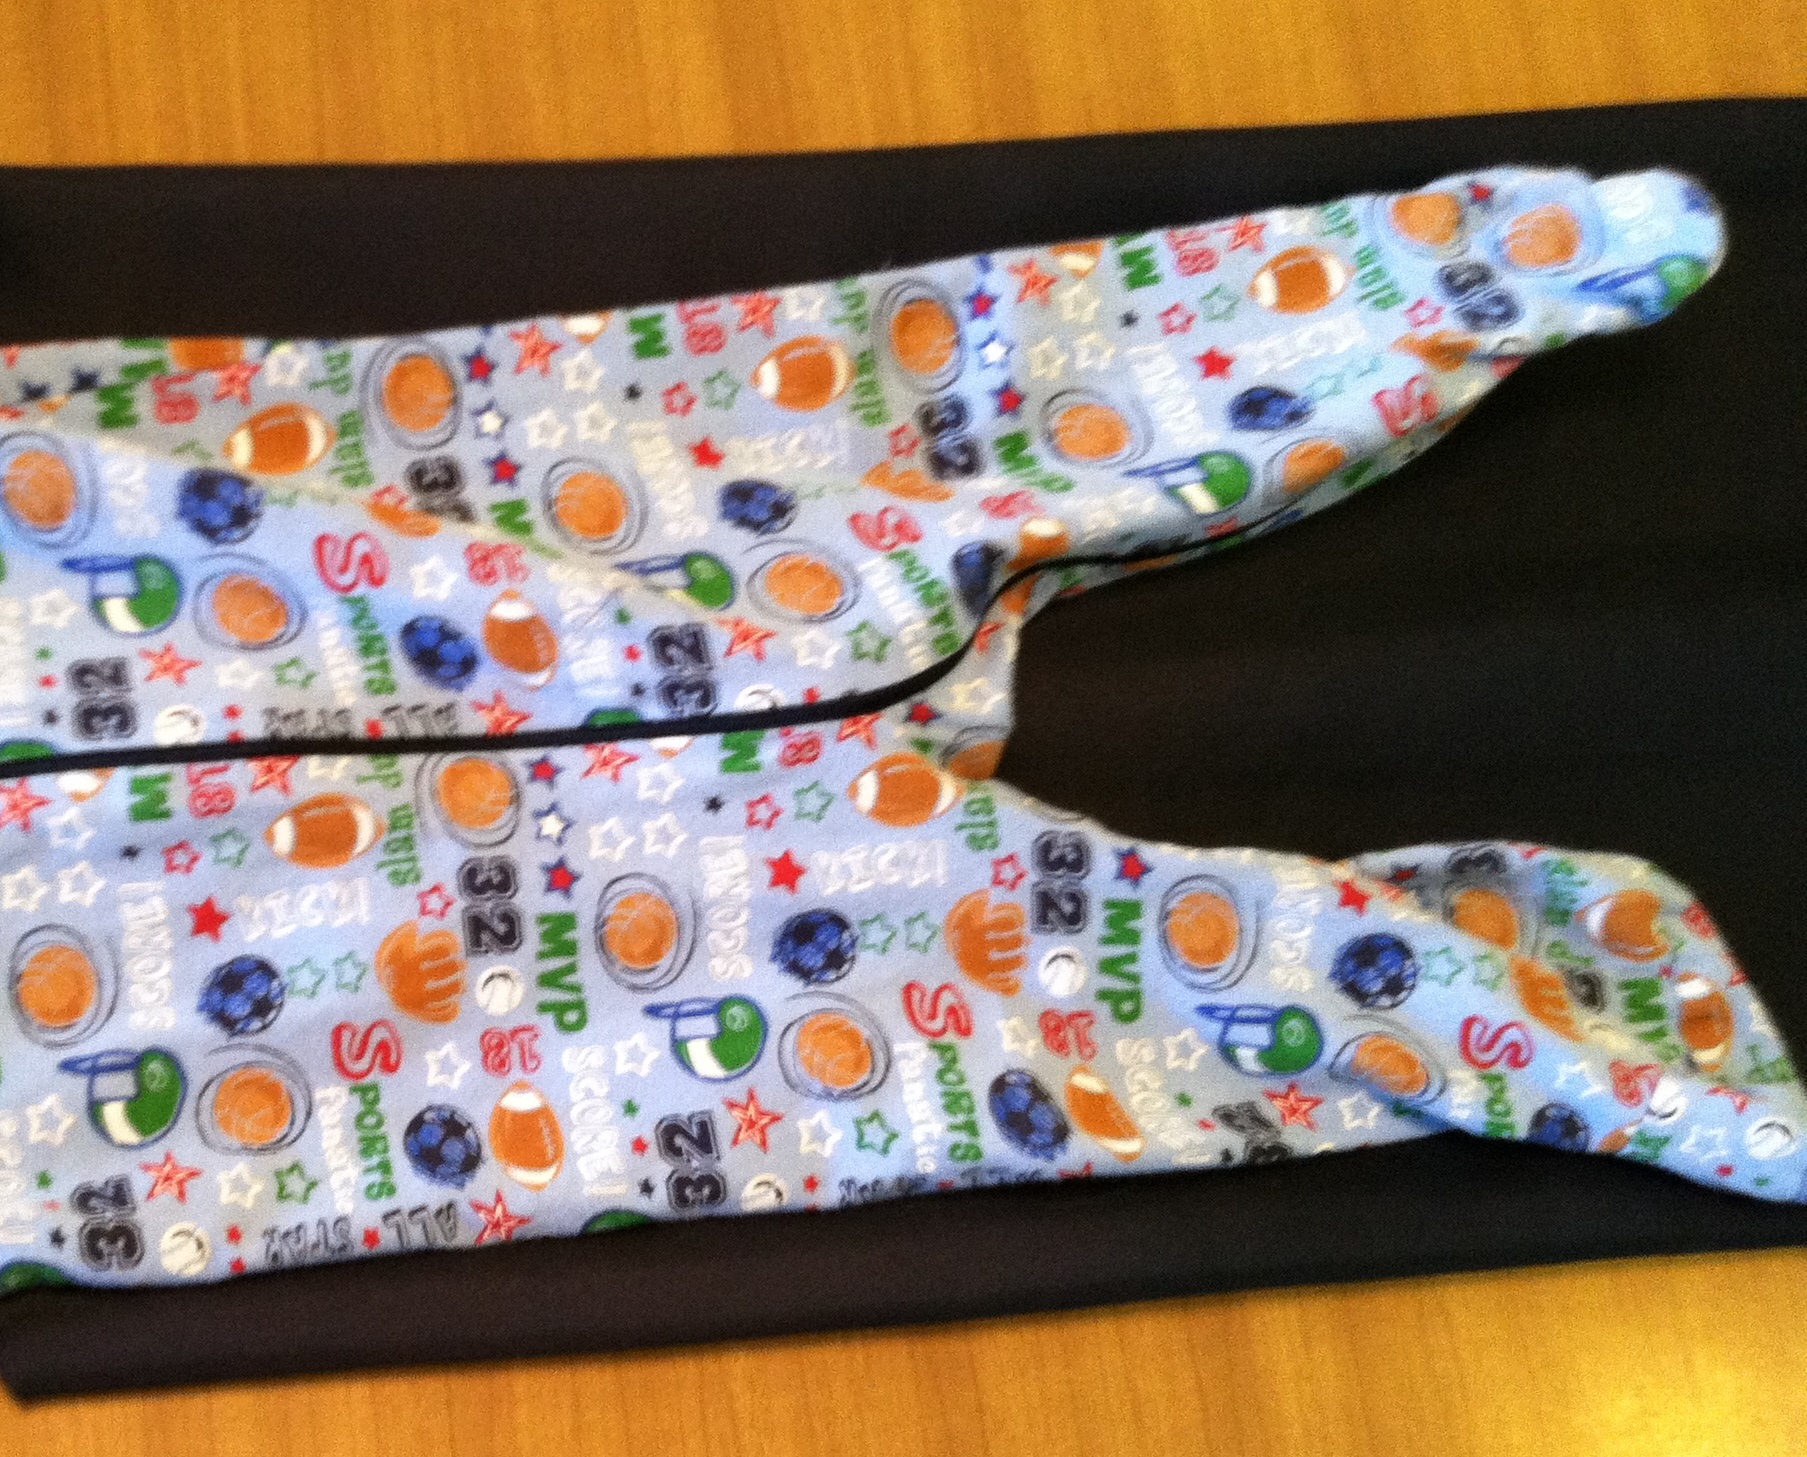
- I placed one of the baby’s sleepers over the fabric so I would know how long to make it. I allowed a little extra length. Then I cut it into a square as shown.
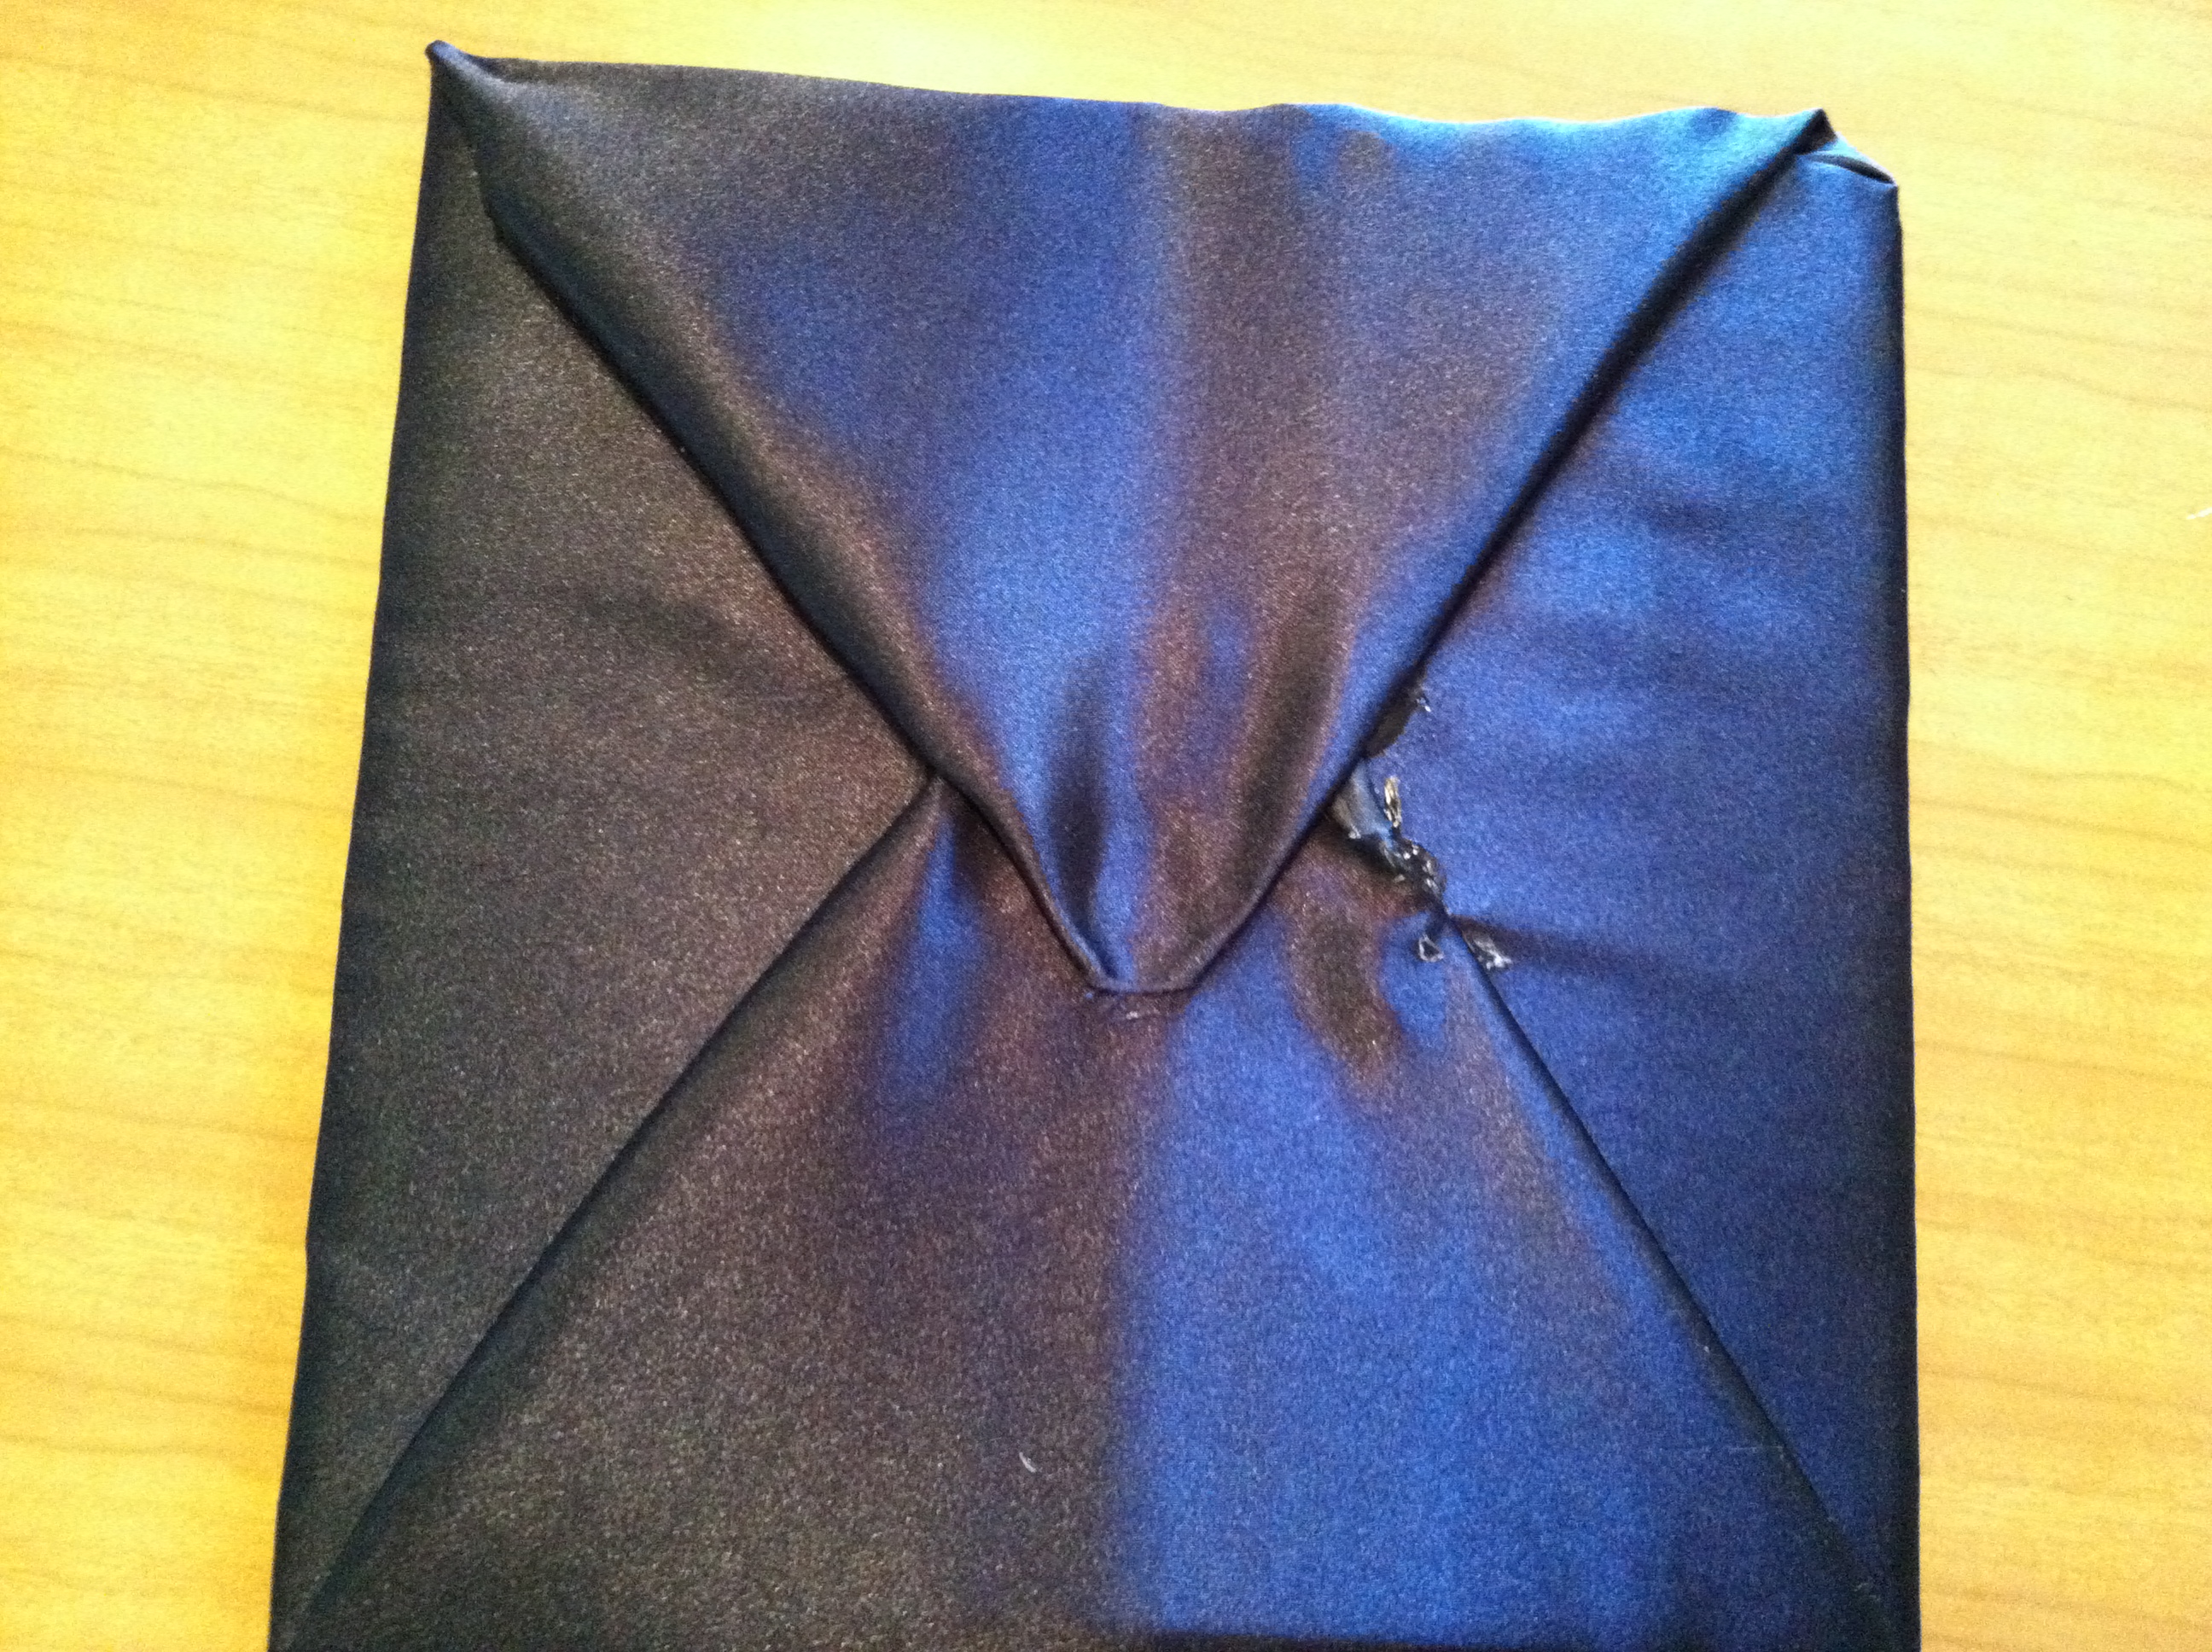
 2. Then I determined the width of the gown by folding each side so that one side overlapped the other. The two overlapping flaps on top would become the front of the gown. The part underneath would become the back.
3. Then I put the sleeper over the folded fabric to make sure the width was what I wanted. I wanted it to be loose.
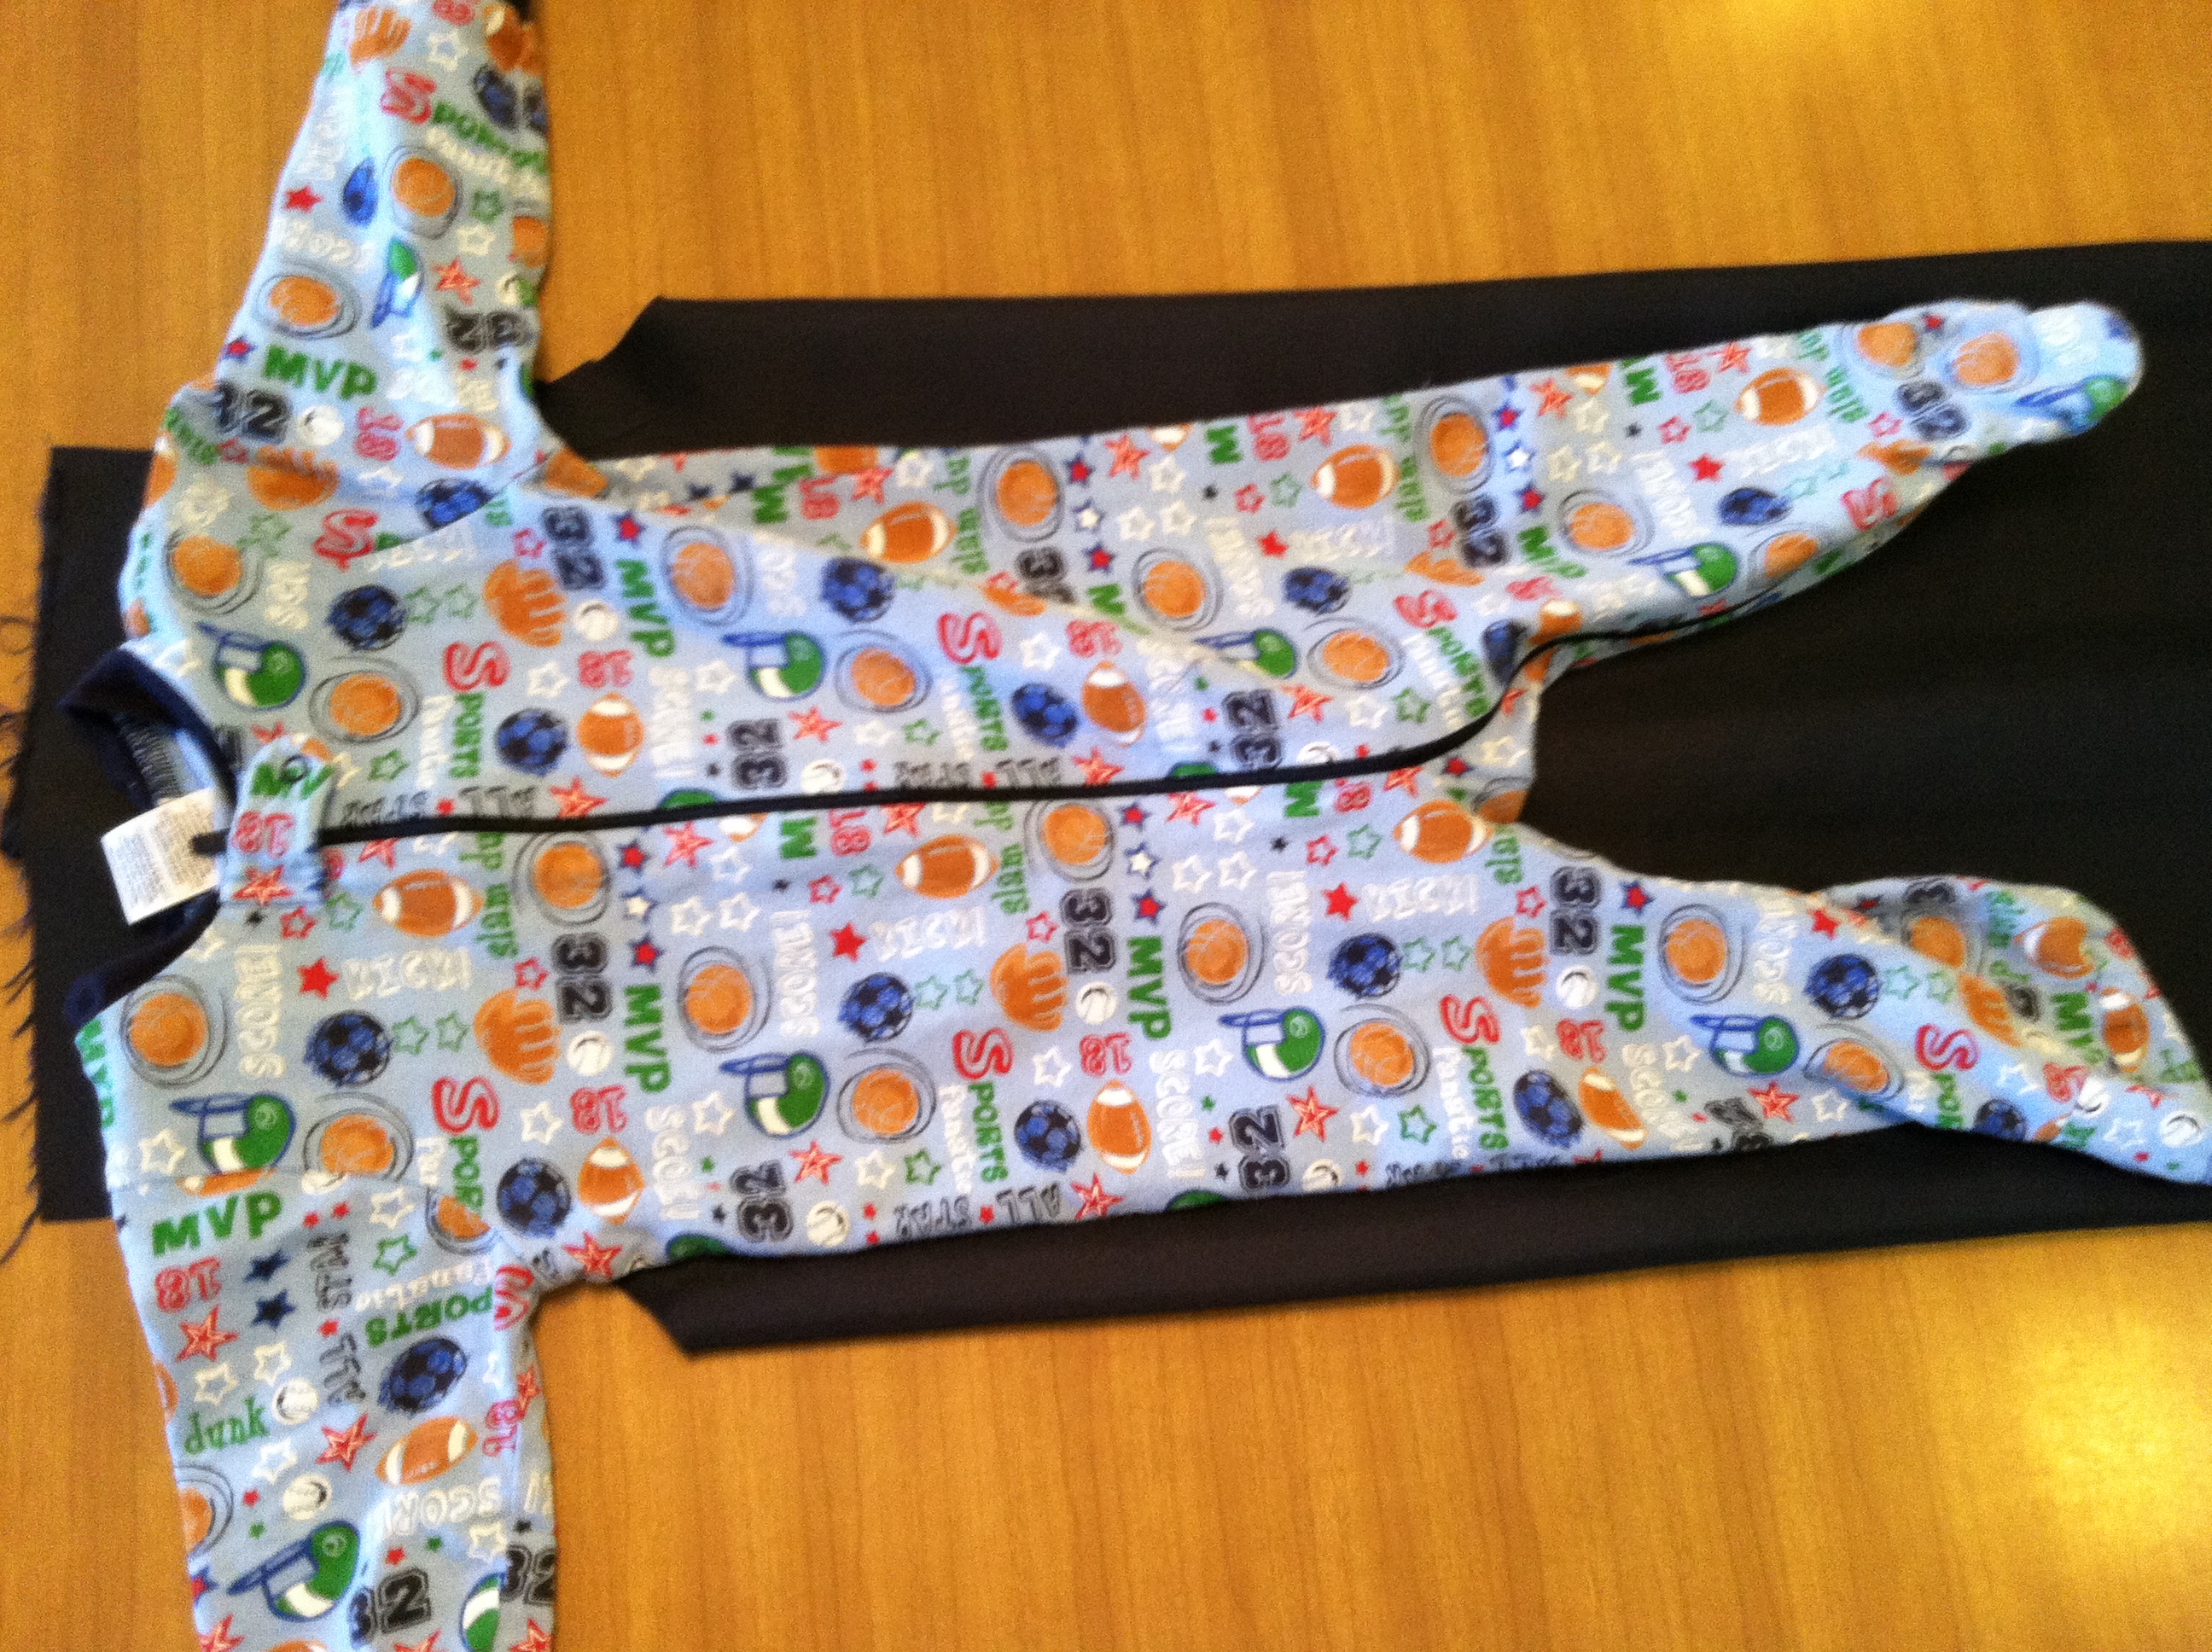
4. Then I used the sleeper to help me determine where to cut the sleeve holes.
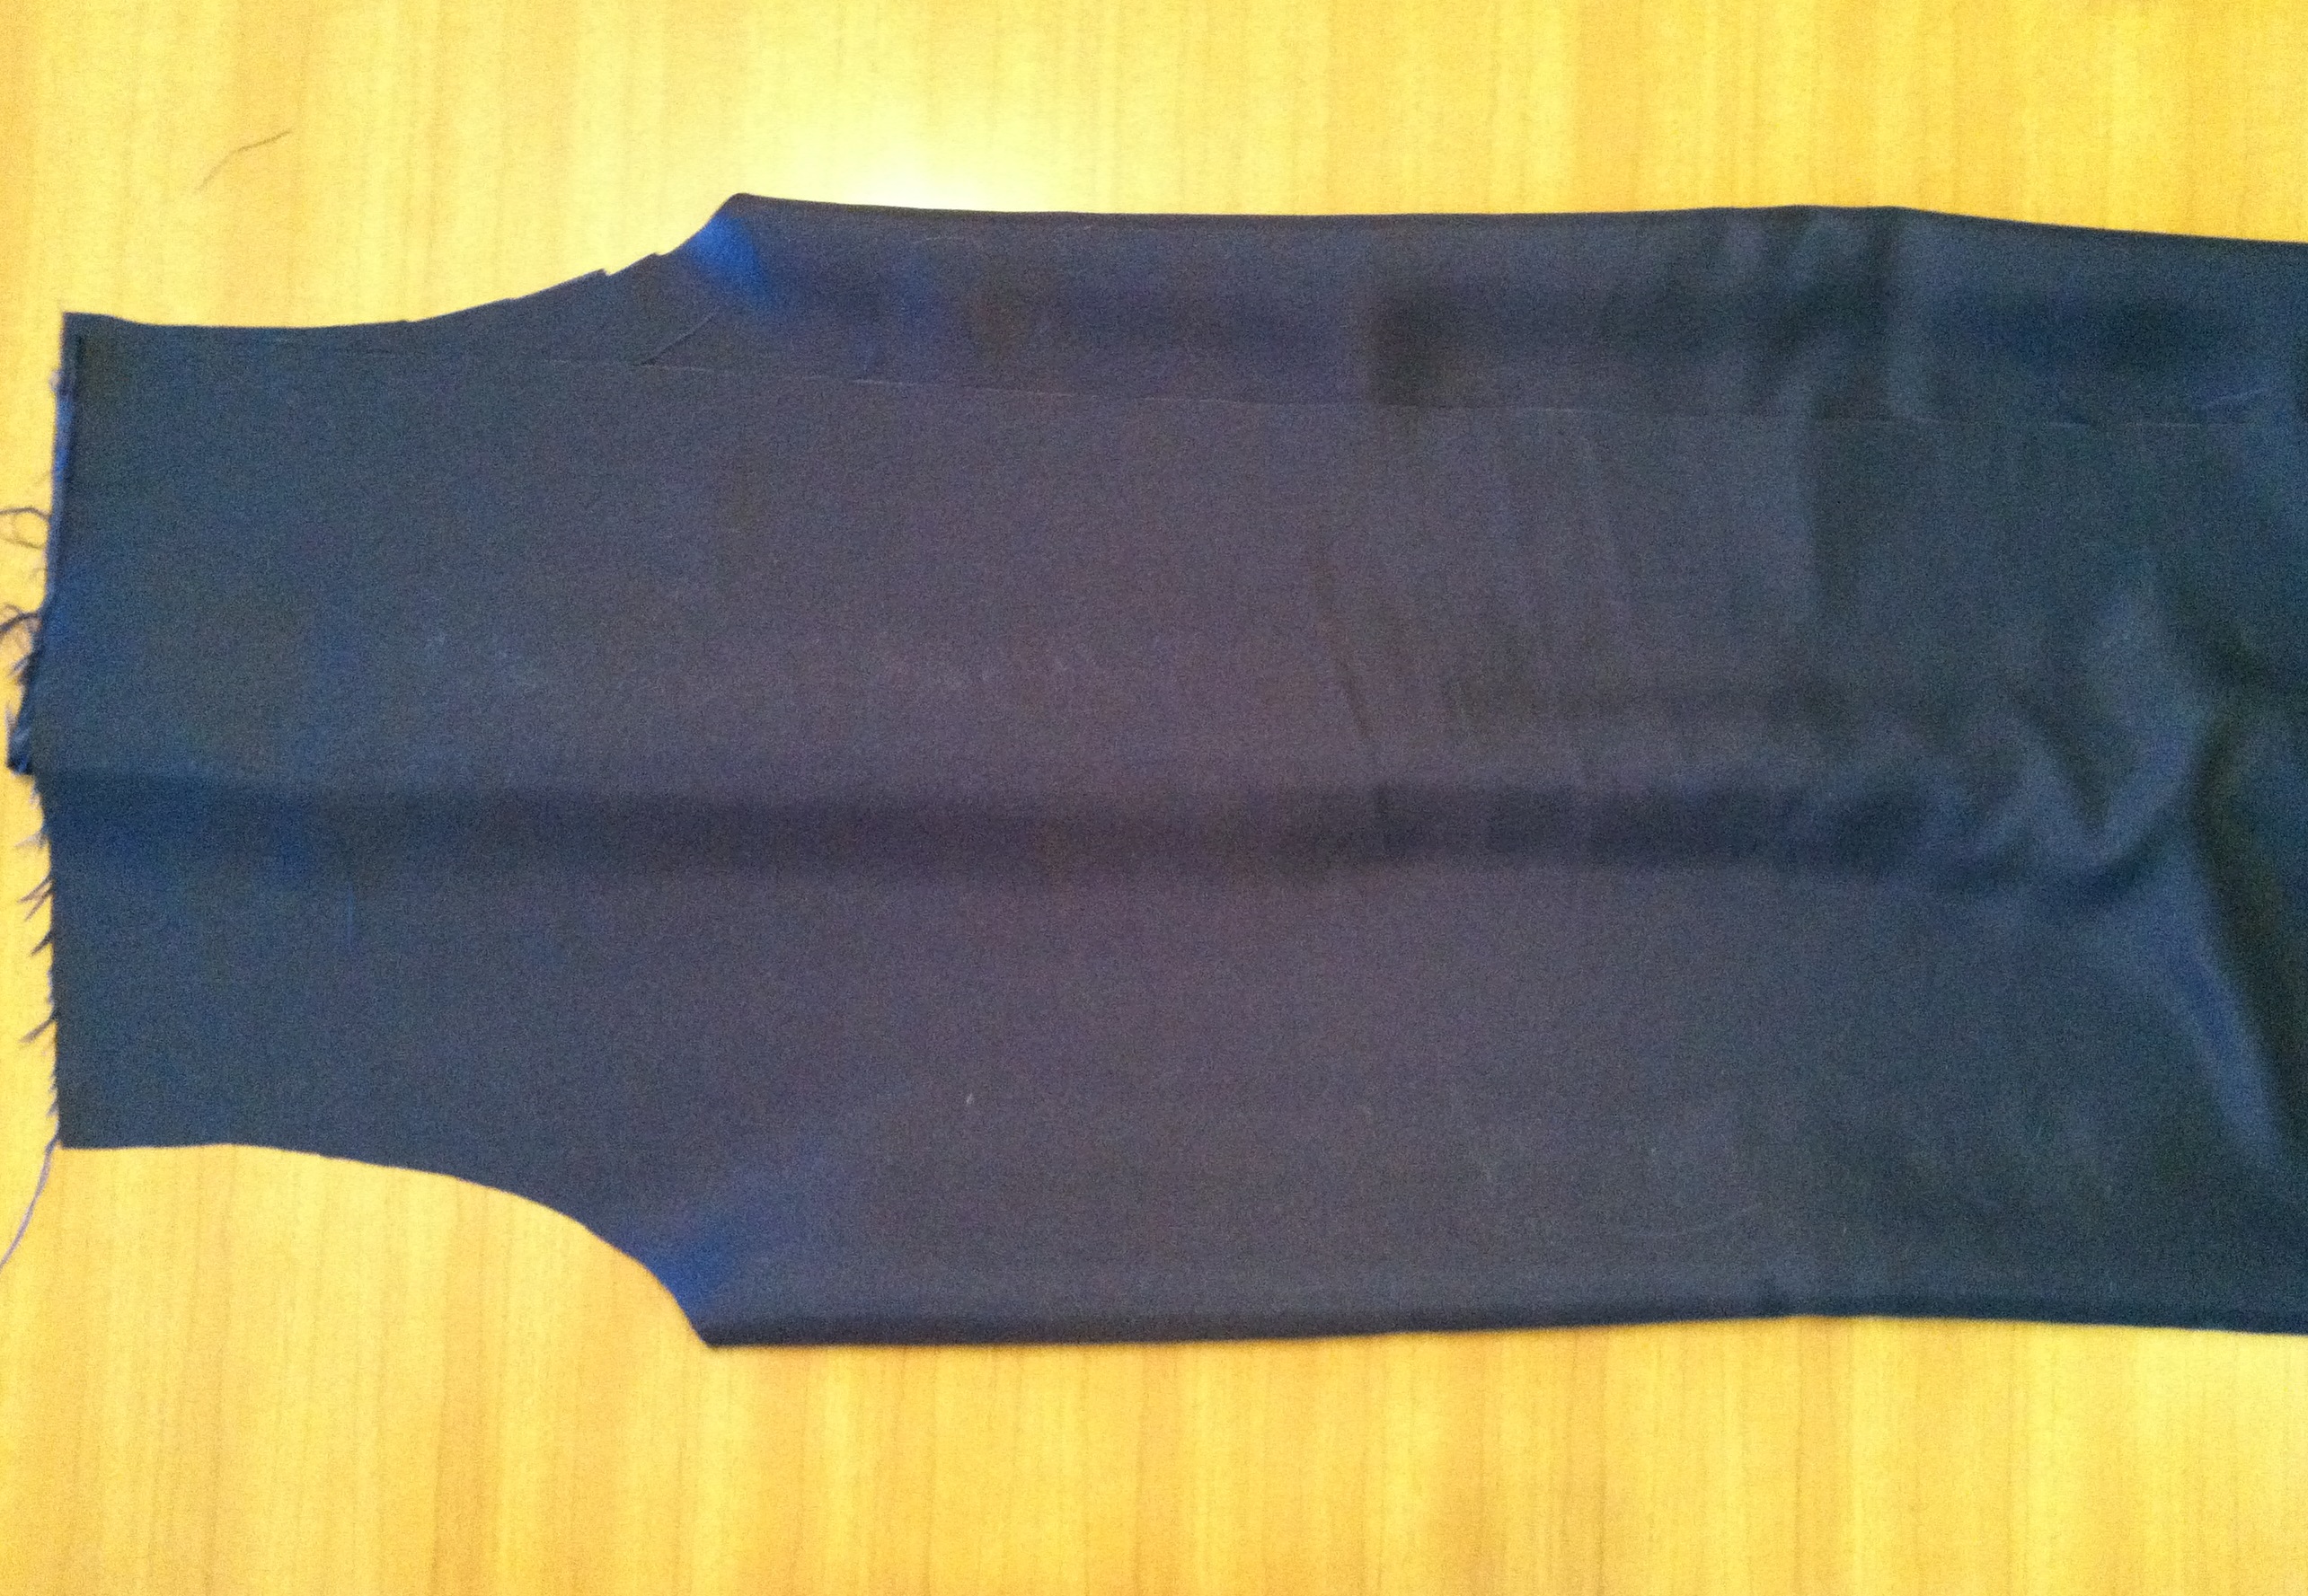
5. I cut the sleeve holes on both folded edges similar to how you would with a pattern.
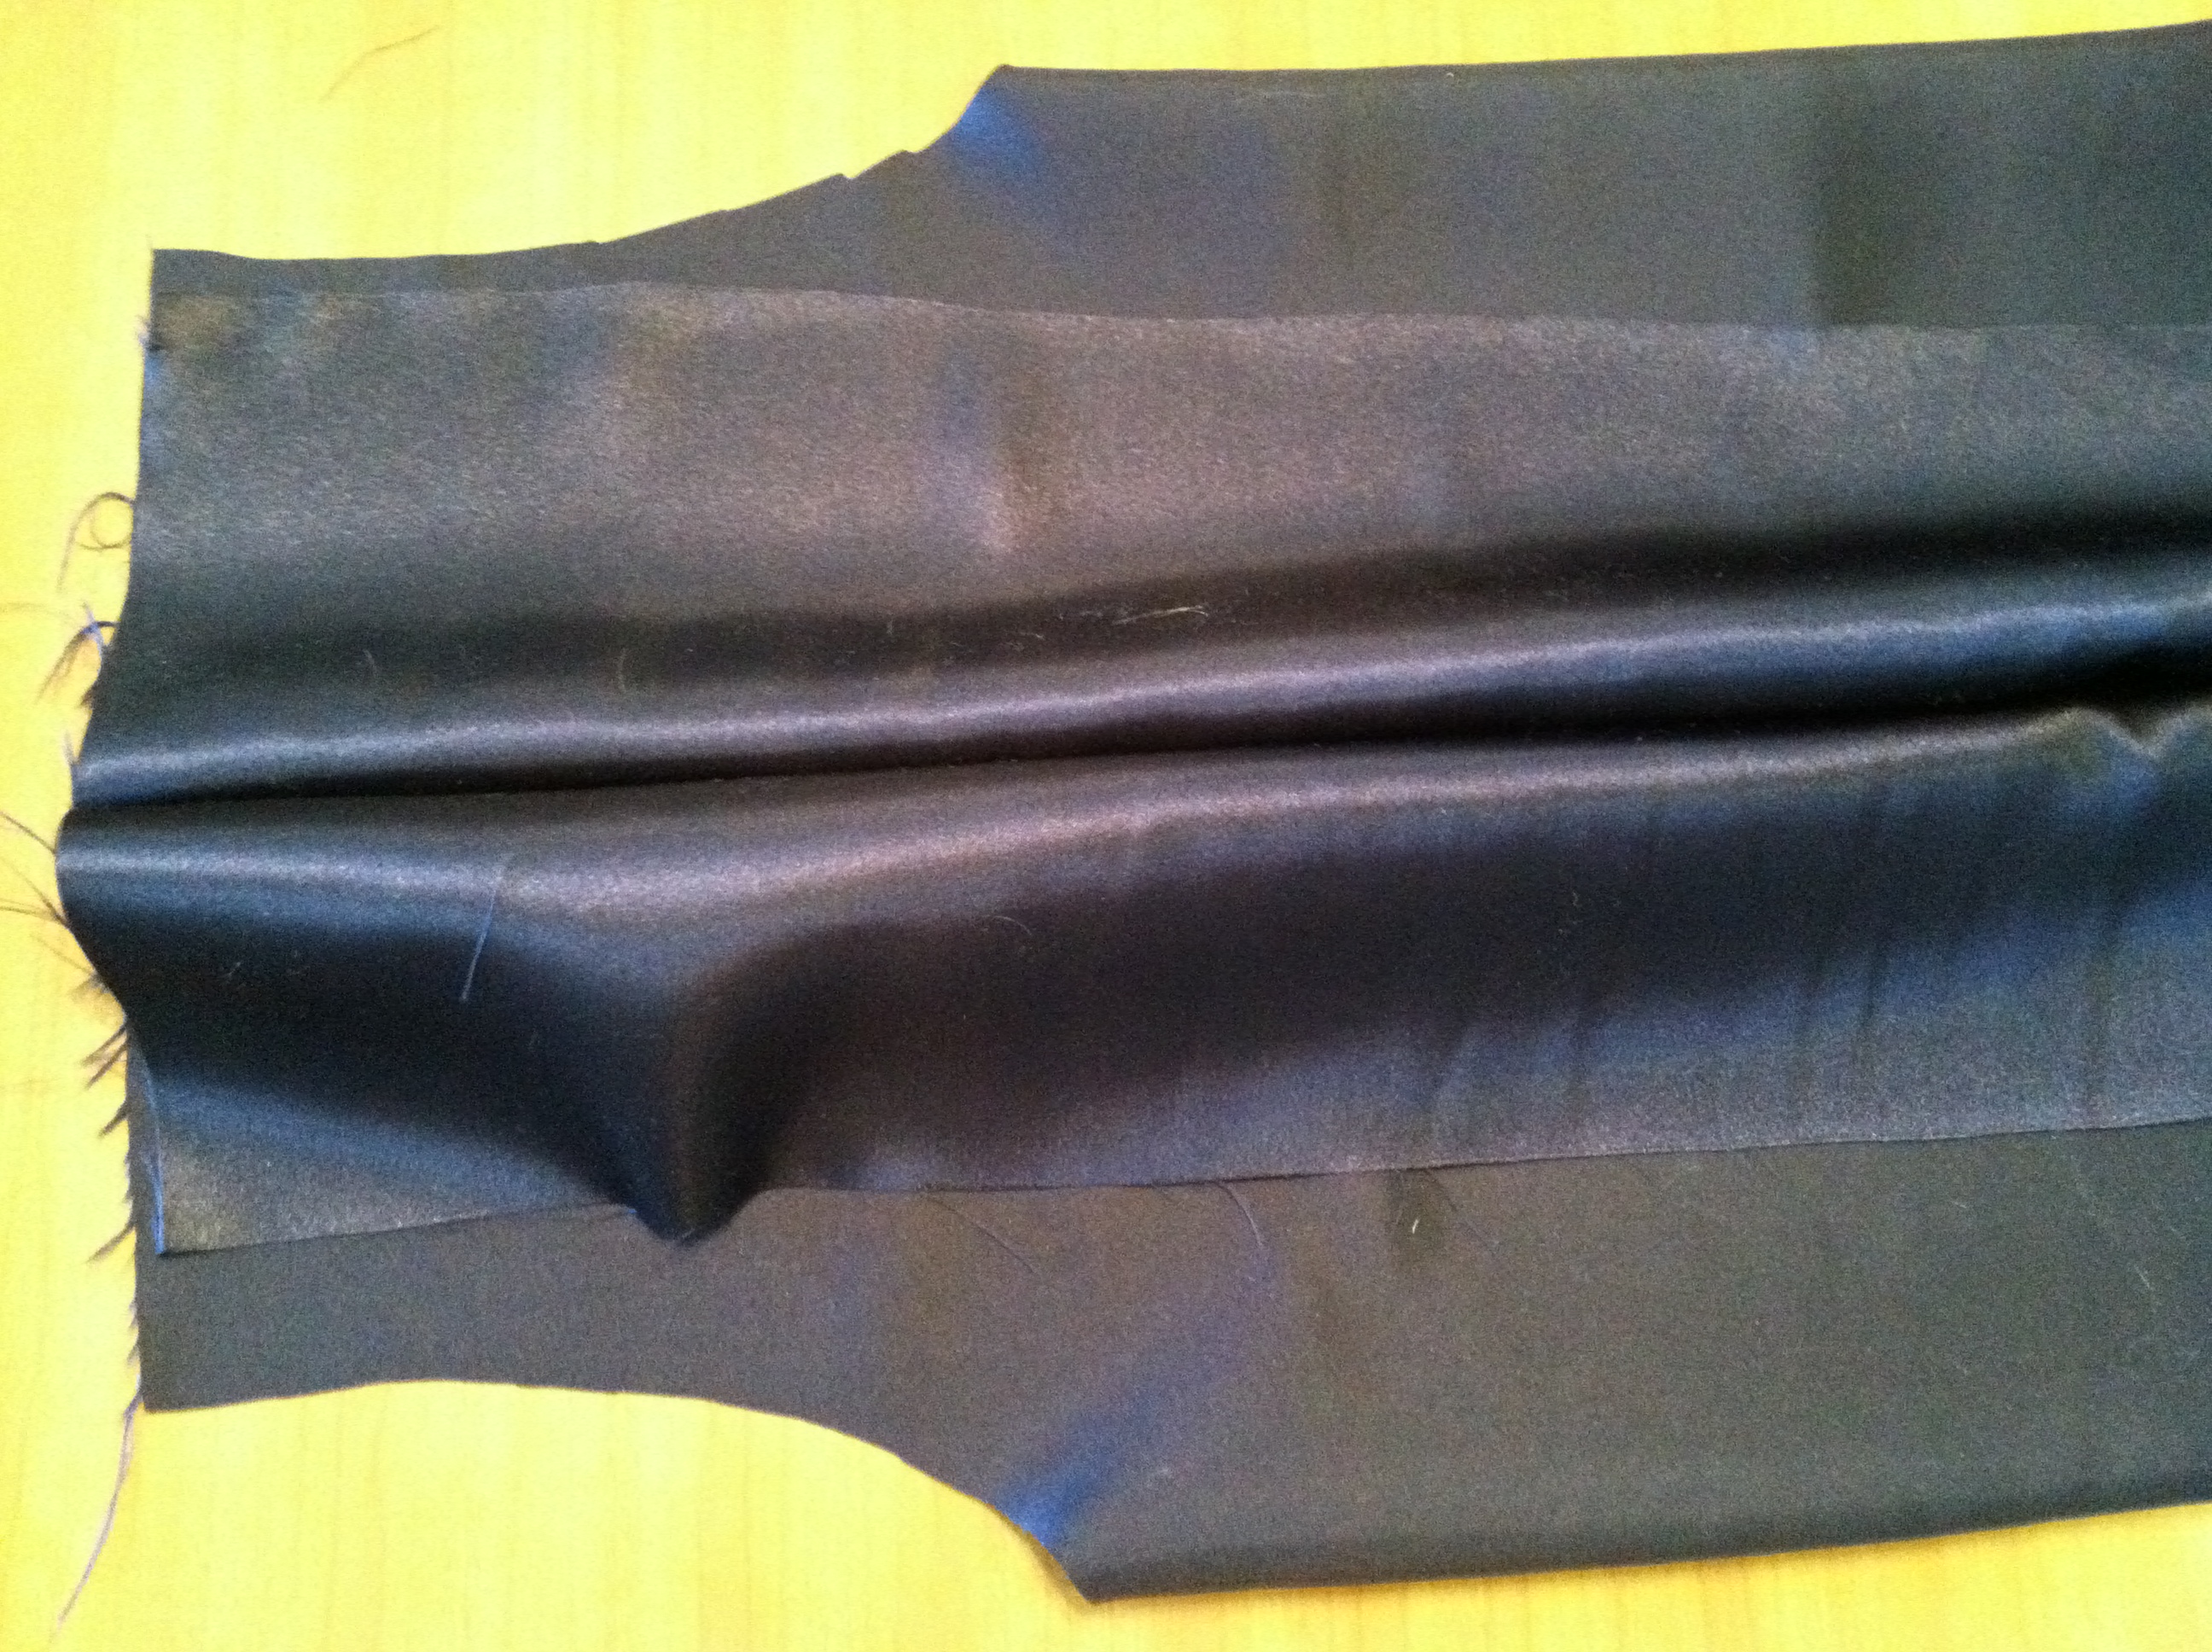
6. This shows how much overlap there was in the fabric. I wanted this much extra so I could create pleats or other decorative edge on the front.
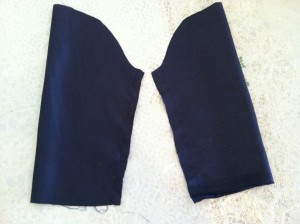
7. Next, I folded over some of the extra fabric for sleeves. Then I laid the sleeper sleeve over the folded fabric and cut it to the length I wanted.
8. Then I cut the sleeves to the desired width so it was slightly wider at the top (6 inches) than at the bottom (5 inches). The length was over 11 inches, but that was too long, so I would probably do 8 inches. I sewed the side seams on each sleeve.
9. Then I cut the curves on the top of the sleeves the way they look in sleeve patterns. I then stitched a loose gather stitch on the upper edge and adjusted the gather to fit the sleeve opening.
10. Then I sewed the sleeves to the gown. You can see the amount of extra fabric I still had to work with in the front.
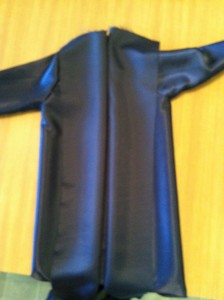
11. This picture is a bit fuzzy, but shows the gown after I sewed on the sleeves, but before I finished the edges and front. Then I hemmed the neckline and front edges down to the bottom.
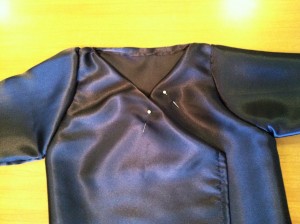
12. I decided to make a V-neck that overlapped. To do this I simply folded both edges of the front diagonally and pinned it, as shown in this picture. Then I topstitched the diagonal edges and hemmed the bottom edge. After putting it on the baby I determined how long the sleeves should be and cut off the extra length at the bottom and then hemmed the sleeves.
HOW TO MAKE THE CAP:

1. I cut an 8-inch cardboard square from a box and laid it on the fabric. Then I cut a square of fabric large enough so the edges would meet in the center when folded over the cardboard.
2. Then I folded the fabric over the cardboard and glued it down with a glue gun the way it shows in the picture.
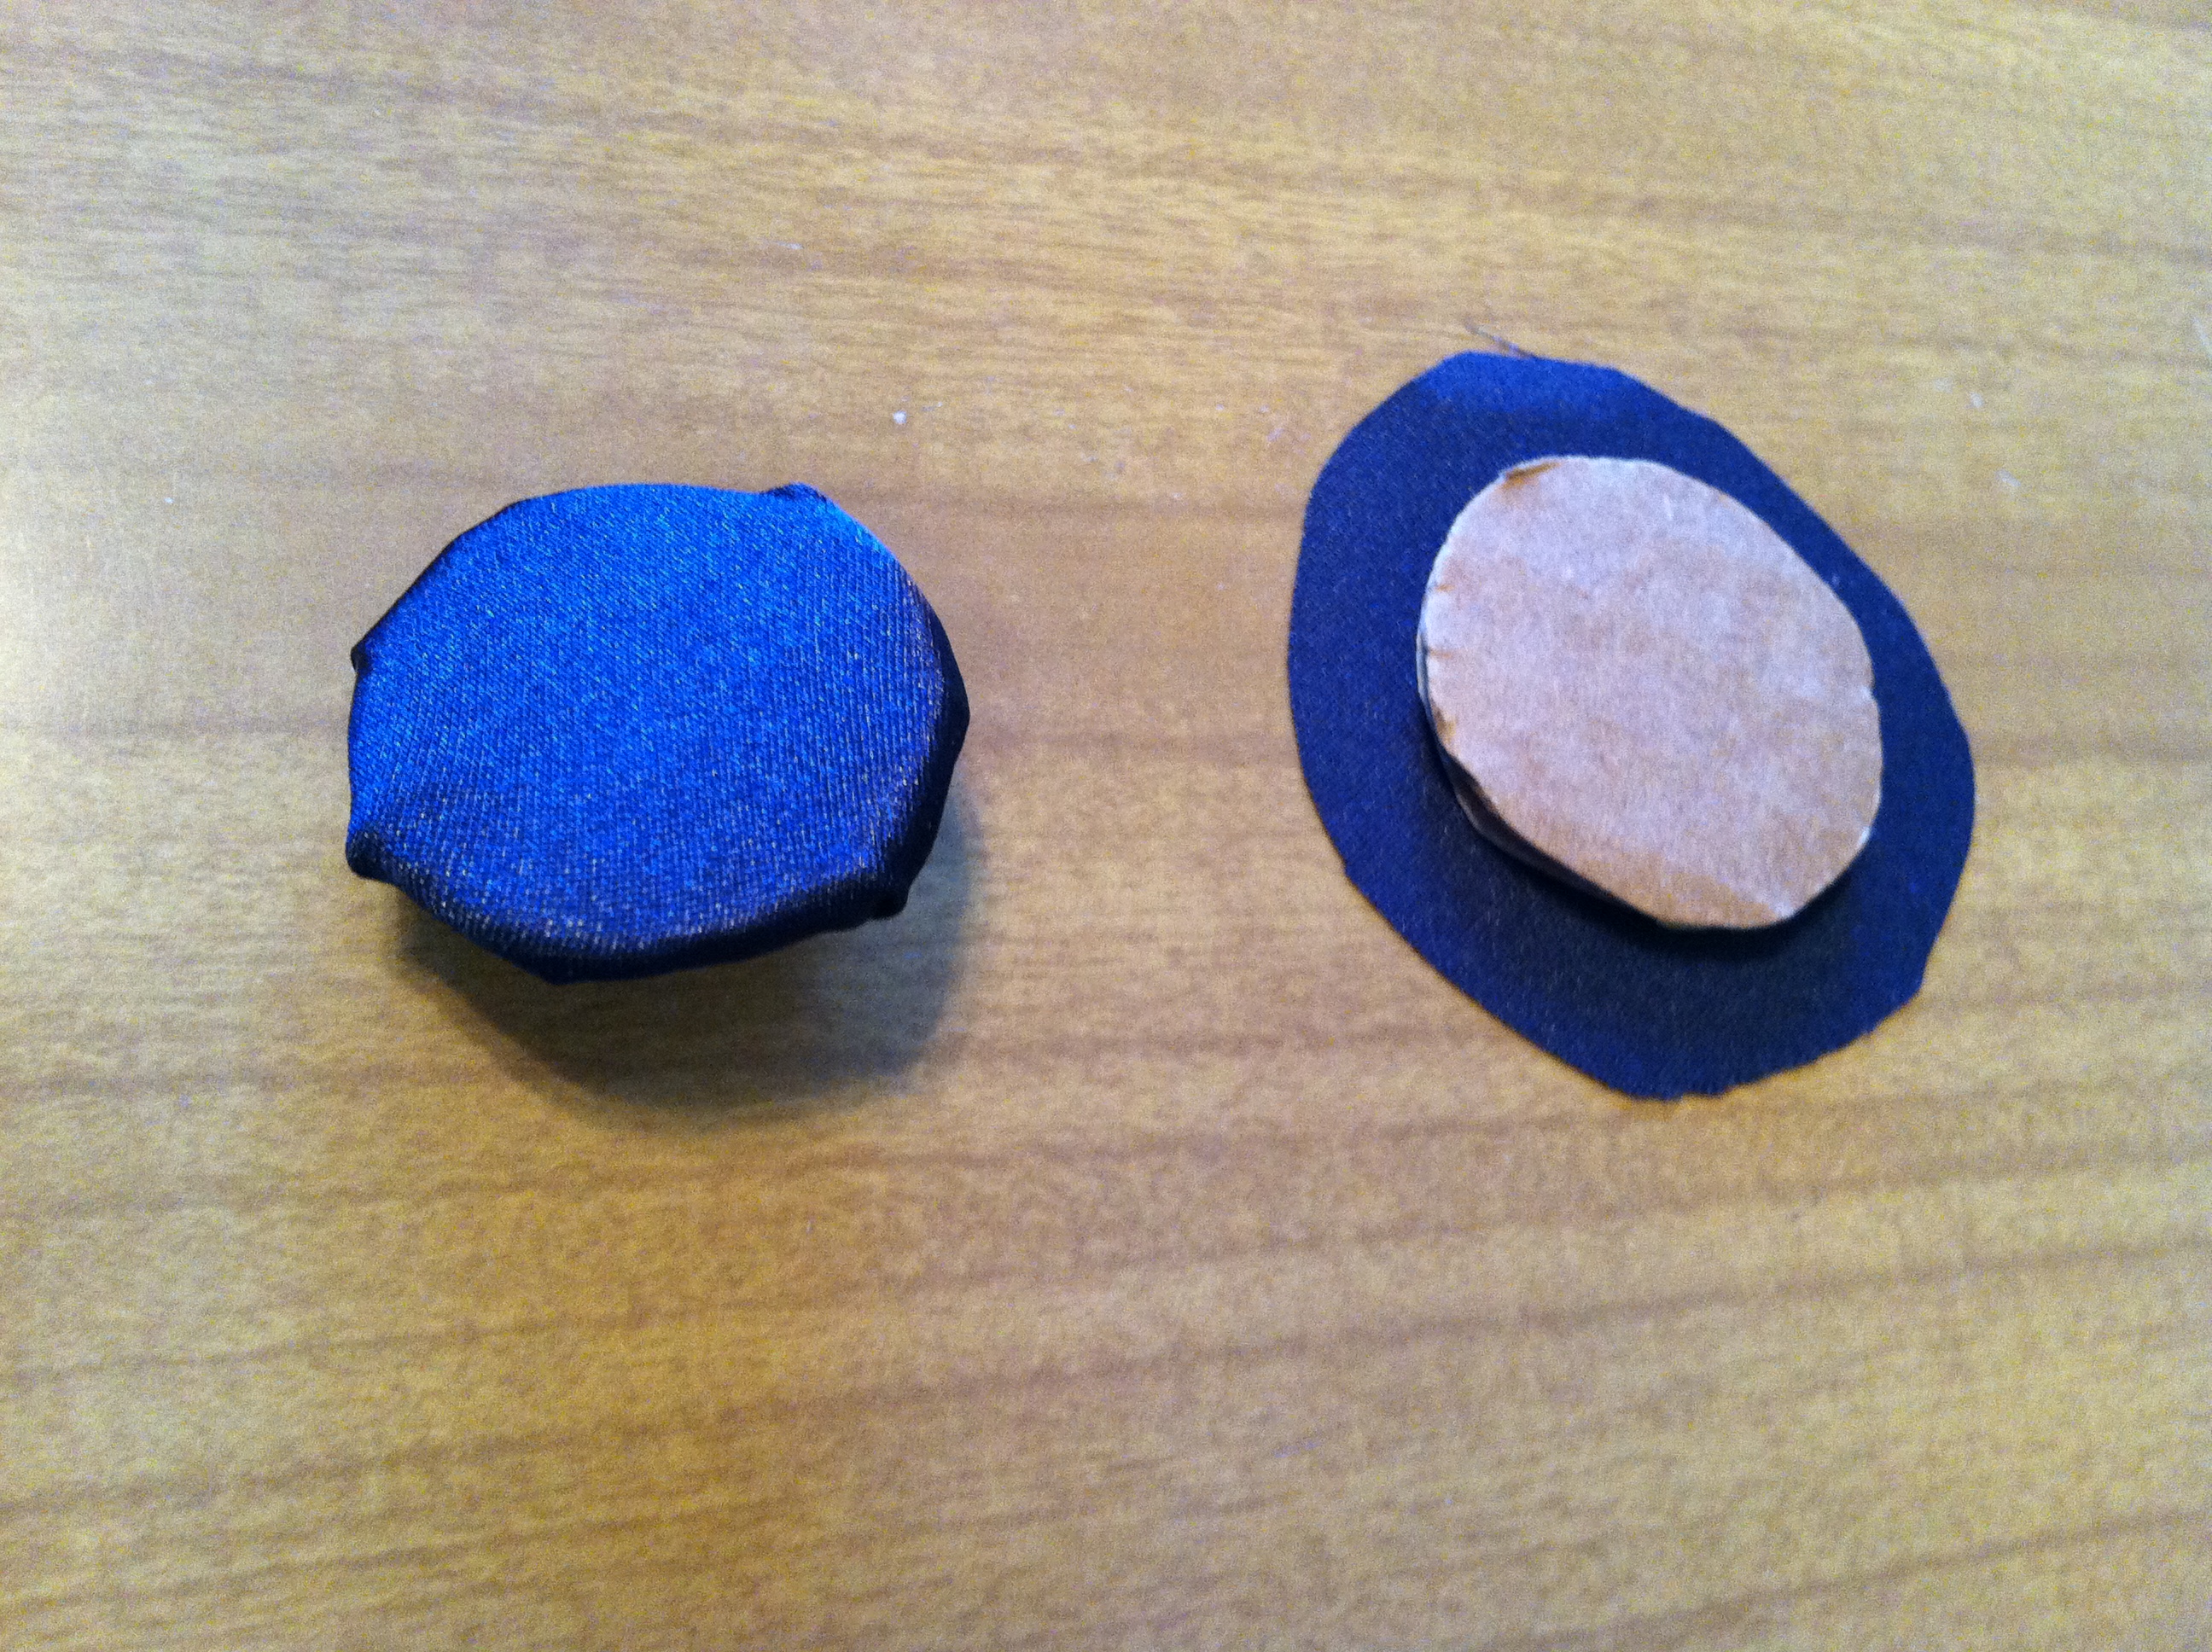
3. To make the button I cut out a small circle from the cardboard and cut the fabric in a circle just larger than the cardboard. Then I glued it down as shown in the picture.

4. To make the tassel I used braided gold trim and untwisted the ends for the tassel. I glued it to the bottom of the button and then glued the button down in the center of the top. I made sure it went toward a straight edge. If I were to do it again I might instead create a loop on the tassel to slip around the button instead of gluing it.
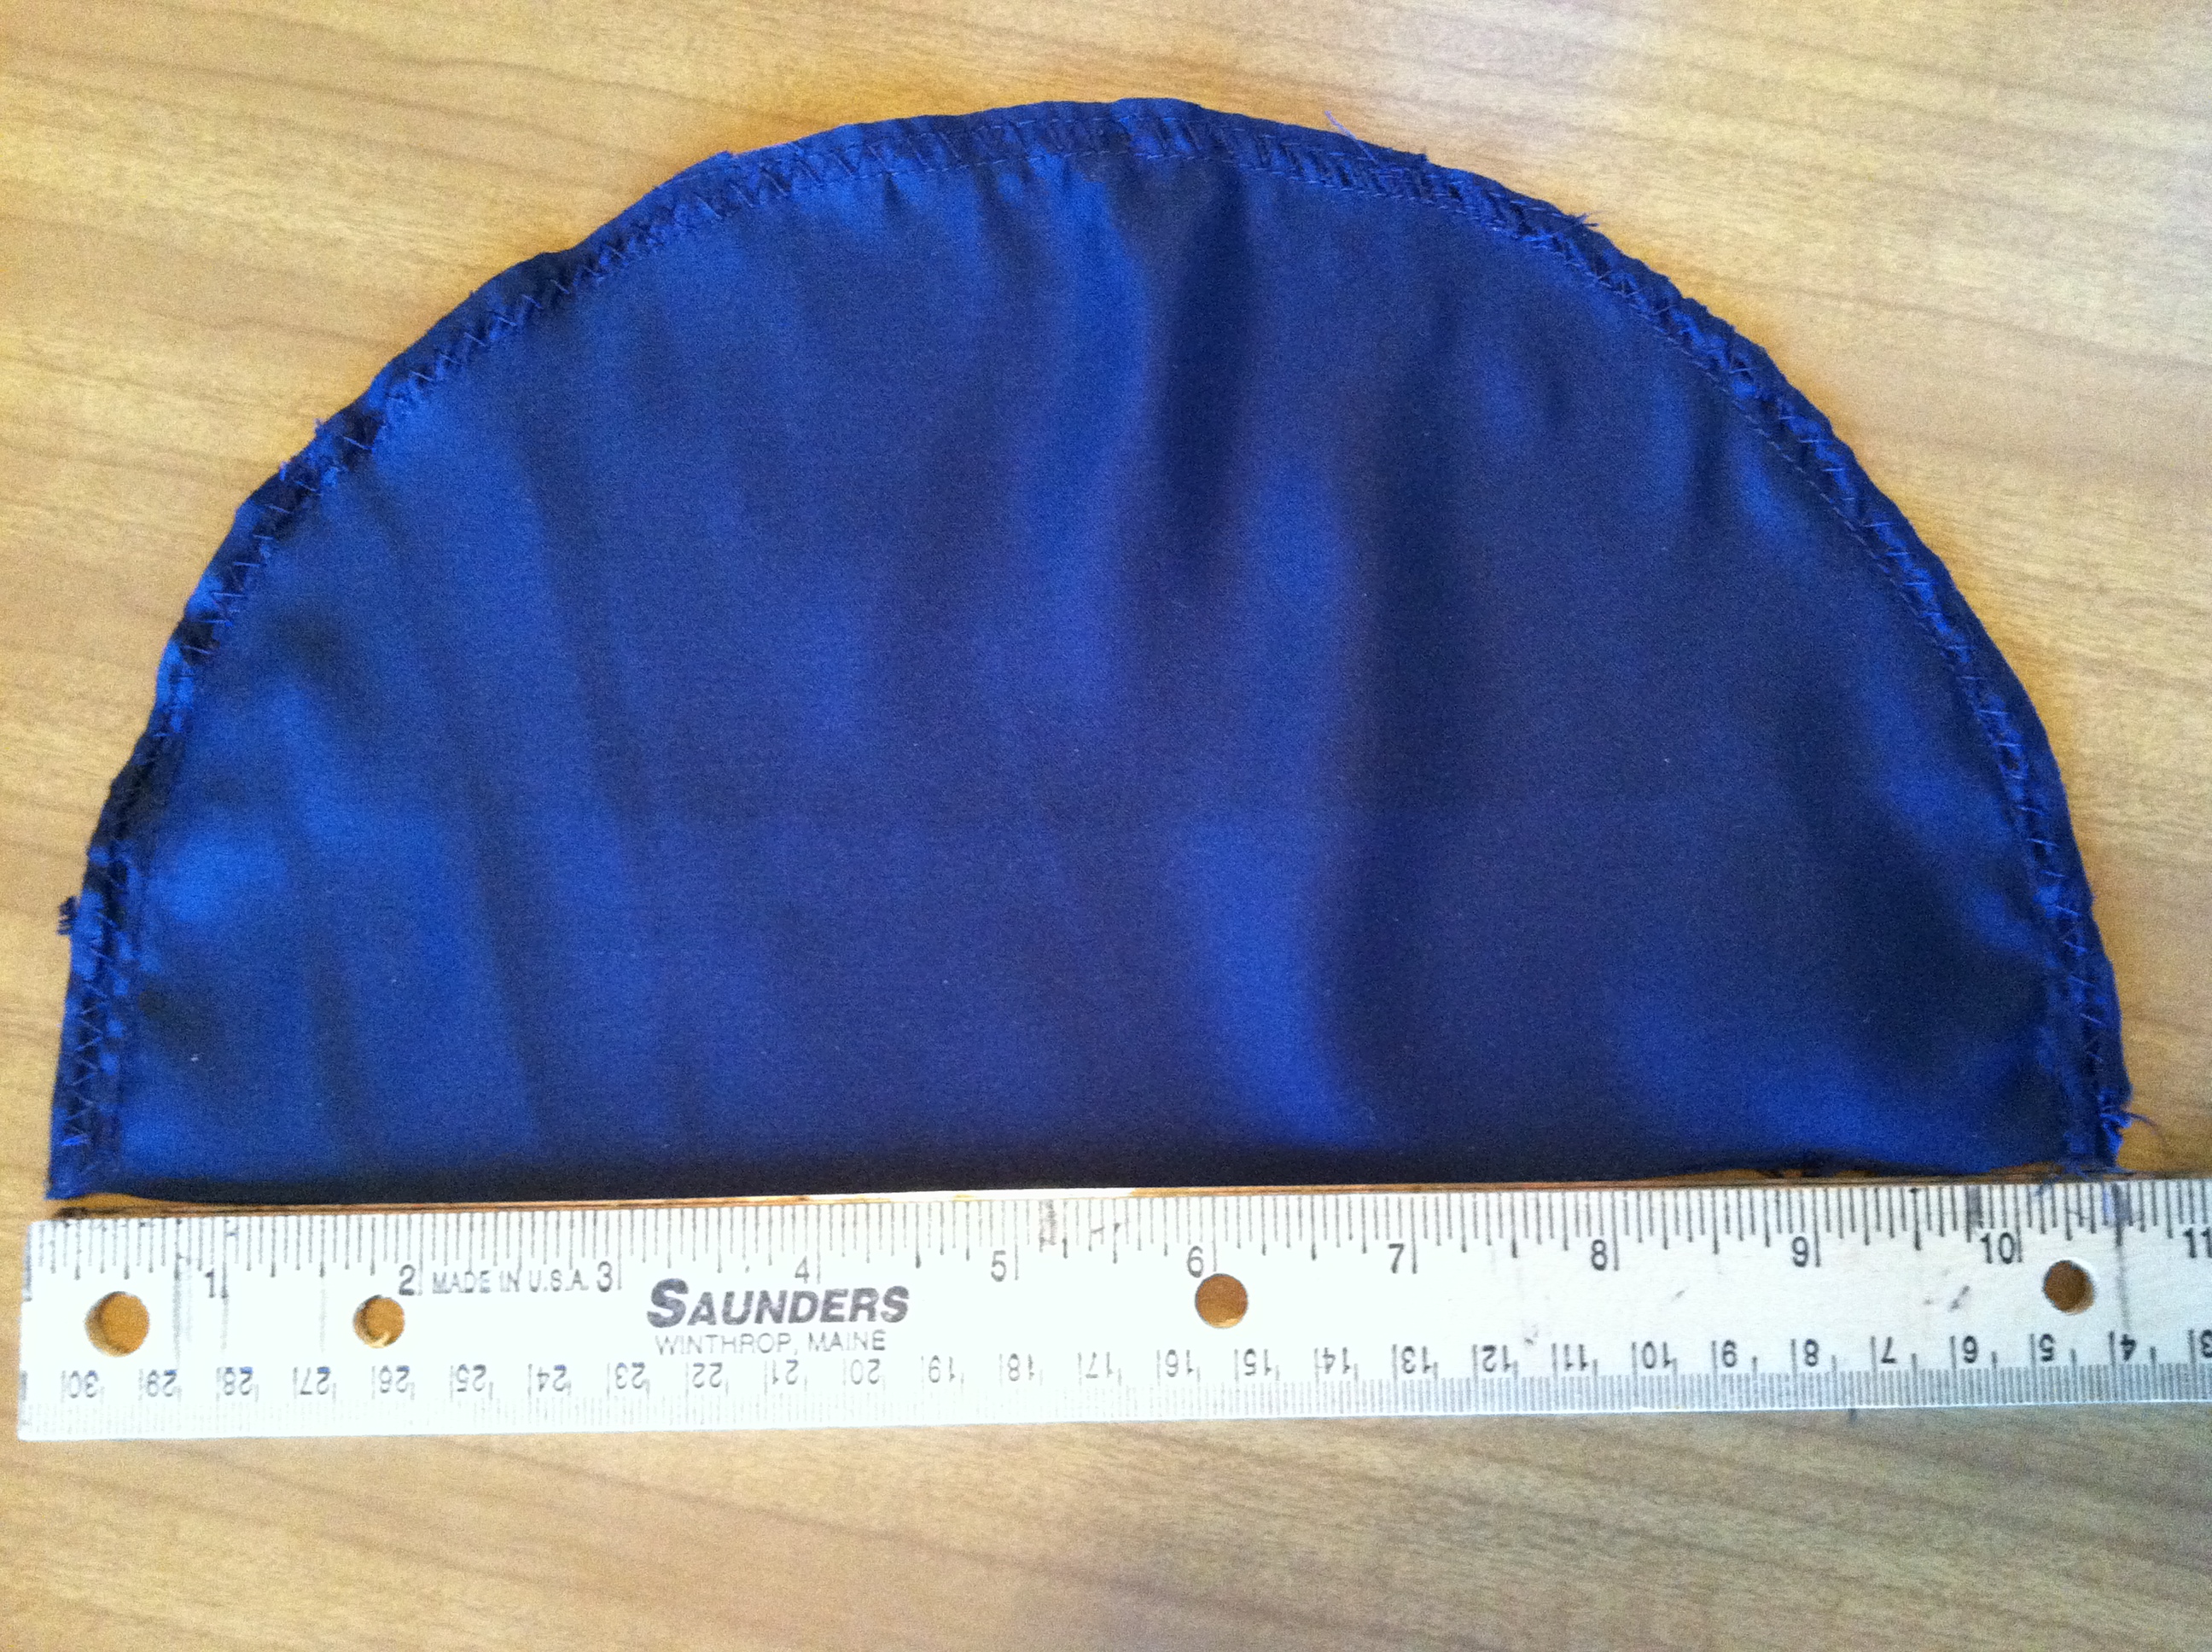
5. Next, cut out a semi circle approximately 10 ½ inches in diameter. Stitch the curved edge. Leave the straight edge open. Create a casing or hem wide enough on the straight edge to feed the elastic through. Leave an inch unstitched to make an opening for the elastic.

6. Measure the baby’s head with the elastic to determine how much you need. Then use a safety pin attached to the elastic to pull it through the casing. Stitch the edge of the elastic and finish the hem opening.

7. Then position and the cap in the center of the bottom of the fabric-covered square, (remember the bottom is the side where fabric corners come together). Make sure the seam of the cap is pointing to a corner of the square and the tassel is on the side. Then glue the very center of the cap to the square with a hot glue gun. Then pin the cap down about 2 inches away from the center on all sides of the center and stitch it down.
And. . .Tada!!! You’re little graduate is ready to go!


Don’t have time to make one? You can also buy them online 🙂
11 pings
Skip to comment form ↓